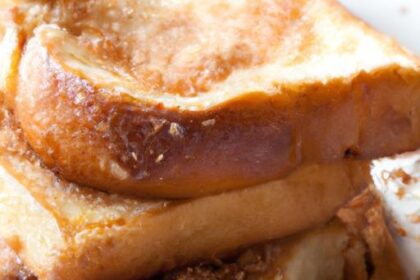
In the symphony of everyday cooking, leftovers often play the unsung notes-quiet, unassuming, yet full of potential. “Save and Savor: Mastering the Art of Leftover Freezing” invites you to transform these humble remnants into culinary encore performances. Freezing leftovers isn’t just about preservation; it’s an art form that, when mastered, can reduce waste, save money, and elevate your meal planning to a whole new level. Join us as we unravel the secrets to freezing with finesse, turning yesterday’s meals into today’s treasures, all while keeping flavor, texture, and nutrition perfectly intact. Your freezer is about to become your new best friend in the kitchen.
Save and Savor: Mastering the Art of Leftover Freezing unlocks the secret to preserving the vibrant flavors and textures of your meals long after preparation. By understanding the science behind freezing, you can confidently extend the life of your delicious creations without sacrificing quality. This method not only minimizes waste but also transforms leftover ingredients into exciting new dishes that delight the palate and demonstrate true culinary creativity.
Prep and Cook Time
Prep Time: 15 minutes
Cook Time: Varies per recipe (see individual steps)
Yield
Varies – perfect for 4 servings or as multiple meal portions when freezing leftovers.
Difficulty Level
Easy to Medium – adaptable to all home cooks eager to save and savor every bite.
Ingredients
- Leftover cooked proteins (chicken, beef, tofu) – approx. 2 cups, chopped
- Cooked vegetables (carrots, bell peppers, spinach) – 1 cup
- Cooked grains (rice, quinoa, pasta) – 1 cup
- Olive oil – 2 tablespoons
- Garlic – 2 cloves, minced
- Soy sauce or tamari – 1 tablespoon
- Fresh herbs (parsley, basil) – 2 tablespoons, chopped
- Salt and pepper – to taste
- Lemon juice – 1 teaspoon
Instructions
- Thaw frozen leftovers safely in the refrigerator overnight or use the defrost function on your microwave to maintain texture and flavor integrity.
- Heat olive oil in a large skillet over medium heat. Add minced garlic and sauté until fragrant, about 1 minute, stirring frequently to prevent burning.
- Add chopped protein to the skillet. Sauté until warmed through, approximately 4 minutes, stirring occasionally.
- Mix in cooked vegetables and grains, tossing gently to combine. Allow to heat evenly, about 3-5 minutes, stirring to avoid sticking.
- Drizzle soy sauce and lemon juice over the mixture, stirring well. Season with salt and pepper to taste.
- Remove from heat and sprinkle fresh herbs on top for a vibrant burst of flavor and color.
- Serve immediately, or portion into airtight containers for future meals.
Tips for Success
- Choose airtight, freezer-safe containers such as BPA-free plastic or glass with tight-fitting lids to prevent freezer burn and maintain freshness.
- Freeze leftovers in meal-sized portions to simplify future reheating and reduce waste.
- Label each container clearly with contents and freezing date using waterproof markers or pre-printed labels for easy rotation and organization.
- Cool foods before freezing to maintain texture and limit ice crystal formation, which can degrade flavor.
- Use freezer bags for flat freezing – lay them flat in your freezer to maximize space and speed thawing.
- Transform leftover mashed potatoes into crispy potato cakes or use frozen cooked rice as the base for quick fried rice dishes.
- Consult trusted sources like the USDA Food Safety and Inspection Service for freezing guidelines and food safety tips.
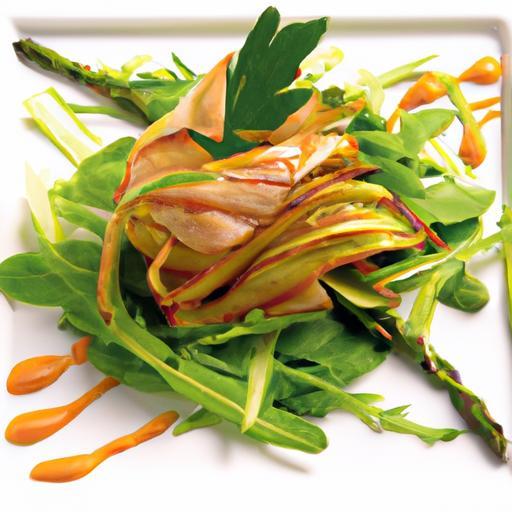
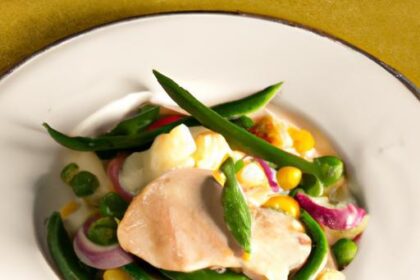
Serving Suggestions
Present your reheated leftovers on a warm plate, garnished with fresh herbs like parsley or chives to enhance freshness visually and flavor-wise. Accompany with a crisp side salad or steamed greens for balanced nutrition and texture contrast. For extra indulgence, drizzle with a dash of flavored olive oil or a sprinkle of toasted nuts for subtle crunch. Pair with a glass of chilled white wine or herbal iced tea to elevate the meal experience.
| Nutrient | Amount per Serving |
|---|---|
| Calories | 320 kcal |
| Protein | 25 g |
| Carbohydrates | 30 g |
| Fat | 10 g |

For more inspiration on maximizing your meal prep and reducing food waste, explore our Creative Leftover Recipes to keep your weekly menu exciting and sustainable.
Q&A
Q&A: Save and Savor – Mastering the Art of Leftover Freezing
Q1: Why should I bother freezing leftovers instead of just eating them right away?
A1: Freezing leftovers isn’t just about convenience-it’s a culinary superpower! It stretches the life of your meals, cuts down food waste, and means you’ve got a ready-made, delicious dish waiting for you after a busy day. Think of it as hitting the pause button on your cooking, so you can savor every bite later.
Q2: What are the first steps to properly freeze leftovers?
A2: Start by cooling your food quickly-think “chill mode” instead of “room-temp waiting game.” Use airtight containers or freezer bags to keep frost and odors at bay. Label everything with the date and contents to keep your freezer organized and your taste buds informed.
Q3: Are some foods better freezer candidates than others?
A3: Absolutely! Soups, stews, casseroles, cooked meats, and even grains like rice and quinoa freeze like champs. Creamy sauces and dairy-heavy dishes can be tricky-they might separate or change texture. Fresh greens and raw potatoes, however, don’t take kindly to freezing and usually prefer a fresher approach.
Q4: How long can I keep leftovers in the freezer without losing quality?
A4: Most cooked leftovers stay tasty and safe for up to 3 months, but their flavor and texture shine brightest within 1 to 2 months. Beyond that, they’re still safe to eat if kept frozen solid, but may turn a little freezer-weary-think of it as their “best before” window for peak deliciousness.
Q5: What’s the best way to thaw frozen leftovers?
A5: Patience is your friend here! Thaw leftovers overnight in the fridge for gentle, even defrosting. In a hurry? Use your microwave’s defrost setting or submerge sealed bags in cold water, changing it every 30 minutes. Avoid countertop thawing-keeping food safe is just as important as keeping it tasty.
Q6: Can I refreeze leftovers after thawing?
A6: If leftovers have been defrosted in the fridge and haven’t sat at room temperature for more than two hours, you’re in the safe zone to refreeze. But repeated freeze-thaw cycles can diminish texture and flavor, so aim to portion leftovers smartly before freezing to avoid multiple refreezing rounds.
Q7: Any creative tips to elevate frozen leftovers when reheating?
A7: Absolutely! Add fresh herbs, a squeeze of citrus, or a sprinkle of your favorite spice blend to reinvigorate flavors. For soups and stews, a dash of cream or a swirl of pesto can transform cozy comfort food into a gourmet delight. Texture tweaks? Toss frozen veggies into a quick sauté to revive crispness.
Q8: How can I avoid freezer burn and keep leftovers tasting fresh?
A8: Freezer burn happens when air sneaks in, drying out your food. To fight it, use containers with tight seals or vacuum-seal bags. Remove as much air as possible, portion your meals in freezer-friendly sizes, and try to freeze leftovers flat (like spreading sauces thin in zip bags) for quicker freezing and even better preservation.
Q9: What’s the ultimate mindset for mastering leftover freezing?
A9: See it as an act of delicious mindfulness-honoring the meals you’ve crafted and savoring them on your own time. With a dash of planning and a sprinkle of creativity, freezing leftovers transforms from a chore into a joy, making every bite count and every penny saved worthwhile.
Save smart, savor long, and let your freezer become your kitchen’s best-kept secret!
The Way Forward
In the end, mastering the art of leftover freezing is more than just a kitchen skill-it’s a creative dance between resourcefulness and flavor preservation. By saving and savoring your meals thoughtfully, you not only reduce waste but unlock a treasure trove of convenient, delicious dishes waiting to be enjoyed again. Embrace the magic of your freezer as a trusted ally in the culinary journey, transforming yesterday’s meals into tomorrow’s delights. With these tips in hand, you’re ready to turn leftovers into lasting memories, one perfectly preserved bite at a time.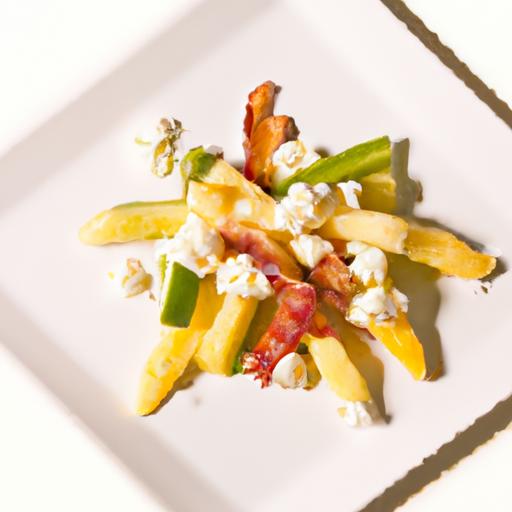


