Imagine the warm, earthy aroma of roasted sunflowers mingling with the soft hum of your kitchen-a symphony of flavors ready to be transformed into a luscious, creamy spread. Sunbutter, the unsung hero of nut-free delights, is more than just an alternative; it’s a versatile pantry staple that’s capturing hearts and taste buds everywhere. In this article, we’ll dive into the art and science of crafting big batches of this golden-hued marvel. Whether you’re a seasoned kitchen alchemist or a curious newbie, get ready to unlock the secrets to making sunbutter that’s rich, smooth, and bursting with nutty goodness-perfect for sandwiches, snacks, and so much more. Let’s embark on a culinary journey that celebrates sustainability, flavor, and the joy of homemade goodness, one sunflower seed at a time.
- Choosing the Perfect Sunflower Seeds for Rich Flavor and Creamy Texture
- Mastering the Art of Blending Sunbutter for Consistency and Taste
- Essential Tips for Scaling Up Your Sunbutter Recipes Without Sacrificing Quality
- Creative Ways to Store and Preserve Large Batches of Homemade Sunbutter
- Prep and Cook Time
- Yield
- Difficulty Level
- Ingredients
- Instructions
- Chef’s Notes
- Serving Suggestions
- Q&A
- In Summary
Choosing the Perfect Sunflower Seeds for Rich Flavor and Creamy Texture
Crafting a Nutty Feast starts with selecting the best sunflower seeds. Opt for high-quality, raw, hulled seeds that are vibrant and plump to ensure a naturally rich flavor and creamy butter consistency. Seeds sourced from reputable farms often come fresher and with a naturally sweet undertone that elevates the final sunbutter.
Roasting the seeds lightly before blending enhances nuttiness without overshadowing their inherent earthiness. Avoid pre-roasted or salted sunflower seeds, as excess salt or oils may throw off the balance in your homemade sunbutter batches.
Mastering the Art of Blending Sunbutter for Consistency and Taste
Achieving the perfect texture and taste is a delicate balance. Use a high-powered food processor to grind your sunflower seeds slowly into a smooth butter. Start by pulsing steadily for about 5 minutes, then allow the machine to rest to prevent overheating. This method ensures a creamy, consistent spread without graininess or separation.
For luscious richness, add a splash of neutral oil such as refined avocado or sunflower oil during blending. This tip is especially helpful when making large batches, as it maintains smoothness without compromising flavor. Sweeten sparingly with a touch of honey or maple syrup, if desired, to complement the earthy tones.
Essential Tips for Scaling Up Your Sunbutter Recipes Without Sacrificing Quality
When you scale up your sunbutter recipe, precision becomes key. Measure ingredients at room temperature to avoid clumping or oil separation. Blend in batches if your processor isn’t large enough, combining batches only after achieving a uniform texture. Keep stirring the combined batch by hand to blend any inconsistencies.
For flavor consistency, use the same brand and type of sunflower seeds throughout and monitor roasting times carefully to avoid bitterness. Store small test jars in the fridge before packaging large amounts; this helps you identify any texture or flavor adjustments early.
Creative Ways to Store and Preserve Large Batches of Homemade Sunbutter
Proper storage is crucial to enjoying your homemade sunbutter fresh for weeks or months. Use airtight glass jars with tight-fitting lids to extend shelf life and prevent exposure to moisture or oxygen. Refrigeration slows oil separation and rancidity, preserving that creamy texture.
For long-term storage, portion your sunbutter into freezer-safe containers. Allow space for expansion, then freeze for up to 6 months. Thaw slowly in the refrigerator to retain creaminess, then stir before serving. Label each batch with the date to easily rotate your stock.
Prep and Cook Time
- Prep Time: 10 minutes
- Cook Time: 15 minutes (roasting seeds)
- Blending Time: 10 minutes
- Total Time: 35 minutes
Yield
About 3 cups (24 ounces) of creamy homemade sunbutter
Difficulty Level
Medium: Requires some kitchen equipment proficiency for roasting and blending in batches.
Ingredients
- 3 cups raw, hulled sunflower seeds
- 1 tablespoon refined avocado or sunflower oil (optional, for creaminess)
- 1 teaspoon sea salt (adjust to taste)
- 1 tablespoon honey or maple syrup (optional, for slight sweetness)
- Water, as needed for adjusting consistency
Instructions
- Preheat your oven to 350°F (175°C). Spread the sunflower seeds evenly on a baking sheet.
- Roast seeds for 10-15 minutes, stirring halfway, until golden and fragrant but not browned. Let cool completely.
- Transfer the cooled seeds to a high-powered food processor. Pulse to break down the seeds.
- Run the processor continuously for 5 minutes, stopping every minute to scrape down the sides to ensure even blending.
- Slowly drizzle in the oil while processing to encourage creaminess.
- Add salt and optional honey or maple syrup. Blend again until smooth and spreadable, about 2-3 minutes. If mixture is too thick, add water sparingly, one teaspoon at a time.
- Transfer the sunbutter to sterile, airtight jars. Store in the refrigerator for up to 4 weeks or freeze for extended shelf life.
Chef’s Notes
- For a chunkier texture, reserve 1/4 cup of sunflower seeds and stir in after blending.
- If the sunbutter separates during storage, simply stir it well before use.
- Try adding vanilla extract or cinnamon for flavor variations.
- Use raw seeds for the creamiest, sweetest butter, but lightly roasting boosts the aroma and depth.
- When scaling up, test small batches for seasoning and sweetness before blending all seeds.
Serving Suggestions
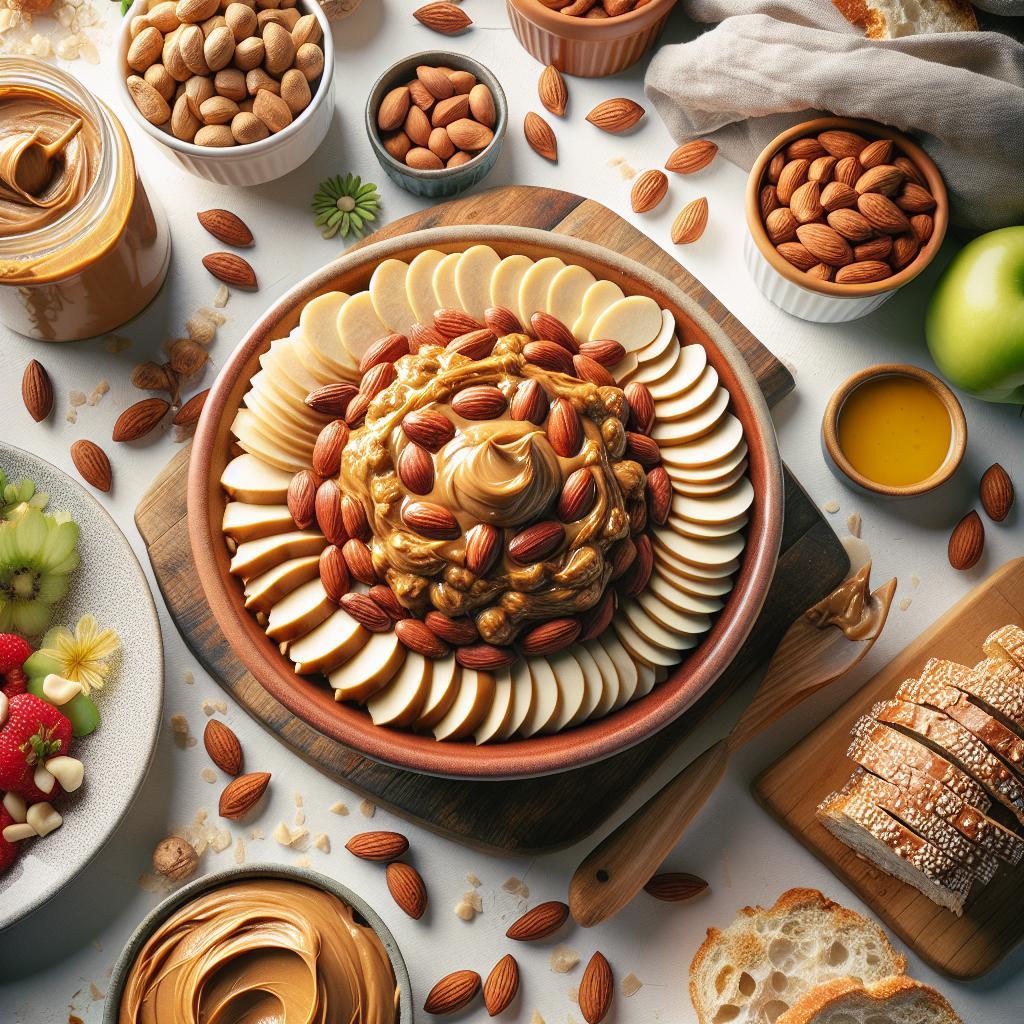
Savor your sunbutter on toasted wholegrain bread, swirl into smoothies, or use as a dip for crunchy apple slices. Garnish with a sprinkle of chia seeds or a drizzle of local honey for a rustic, inviting presentation. It also shines as a creamy base in sauces or baked goods, adding rich nuttiness to your culinary creations.
| Nutrient | Per 2 Tbsp |
|---|---|
| Calories | 190 |
| Protein | 6g |
| Carbohydrates | 7g |
| Fat | 16g (mostly healthy fats) |

Discover more ways to enhance your nut and seed butters in our Healthy Nut Butter Recipes collection, and explore the nutritional benefits of sunflower seeds here.
Q&A
Q&A: Crafting a Nutty Feast: How to Make Big Batches of Sunbutter
Q1: What exactly is sunbutter, and why should I consider making it at home?
A1: Sunbutter is a creamy, golden spread made from roasted sunflower seeds. It’s the nut-free alternative that’s rich in flavor and packed with nutrients like healthy fats, protein, and vitamin E. Making it at home lets you control the ingredients-no hidden sugars, oils, or preservatives-and craft batches big enough to share with family or stash for weeks of snacking joy.
Q2: What kitchen tools do I need to embark on my sunbutter adventure?
A2: The essentials are a high-powered food processor or blender (your nut butter’s best friend), a baking sheet for roasting the seeds evenly, and an airtight container for storage. Optional but handy: a silicone spatula for scraping the bowl clean and a kitchen scale for measuring seeds precisely.
Q3: How do I roast sunflower seeds perfectly for sunbutter?
A3: Spread raw sunflower seeds in a single layer on a baking sheet and roast at 325°F (163°C) for about 10-15 minutes. Give them a stir halfway through to toast every seed evenly. You’re aiming for a fragrant, lightly golden batch-not burnt. This step unlocks the rich, nutty flavor essential for your sunbutter masterpiece.
Q4: What’s the secret to getting the perfect sunbutter texture when making large batches?
A4: Patience and technique! Start by processing the seeds in pulses to break them down, then blend continuously. Scrape the sides often and incorporate small amounts of neutral oil (like sunflower or light olive oil) if necessary to smooth it out. Don’t rush the process; it can take up to 10 minutes of blending to achieve that creamy, spreadable consistency.
Q5: Can I customize my sunbutter, and how?
A5: Absolutely! Mix in a pinch of sea salt to enhance flavor, a drizzle of honey or maple syrup for natural sweetness, or even a dash of cinnamon or vanilla extract for a gourmet twist. For savory fans, a touch of smoked paprika or garlic powder can add spices that elevate sandwich spreads or dips.
Q6: How do I store large batches of homemade sunbutter?
A6: Transfer your sunbutter to clean, airtight jars or containers and store them in the refrigerator. Properly sealed, it can last up to a month or more. If you want to stash even more, sunbutter freezes beautifully-simply thaw it overnight in the fridge before enjoying.
Q7: Why make big batches instead of small ones?
A7: Once you master the process, making big batches saves you time and energy-no need to repeat the roasting and blending rituals often. Plus, it’s perfect for hosting, gifting, or keeping a wholesome pantry stocked. It’s a feast of flavor and convenience rolled into one jar.
Q8: Are there any tips to troubleshoot common sunbutter-making issues?
A8: If your sunbutter feels grainy or dry, blend longer or add a splash more oil. Too runny? Cut back on the oil next time. If the flavor seems flat, a bit more roasting can deepen the nuttiness-just watch so it doesn’t burn. Remember, every batch is a learning curve and an opportunity to craft your perfect sunbutter signature.
With these insights in hand, you’re ready to fill your kitchen with the irresistible aroma of roasted sunflower seeds and enjoy your homemade sunbutter feast-big batch style!
In Summary
As you embark on your journey to craft big batches of sunbutter, remember that each spoonful holds the warmth of golden fields and the nourishing power of nature’s tiniest seeds. Whether drizzled over morning toast, swirled into smoothies, or folded into baked delights, your homemade sunbutter is more than just a spread-it’s a celebration of creativity, sustainability, and wholesome flavor. So gather your seeds, fire up your equipment, and let the nutty feast begin! With every batch, you’re not just making sunbutter-you’re crafting a delicious legacy to share and savor.


